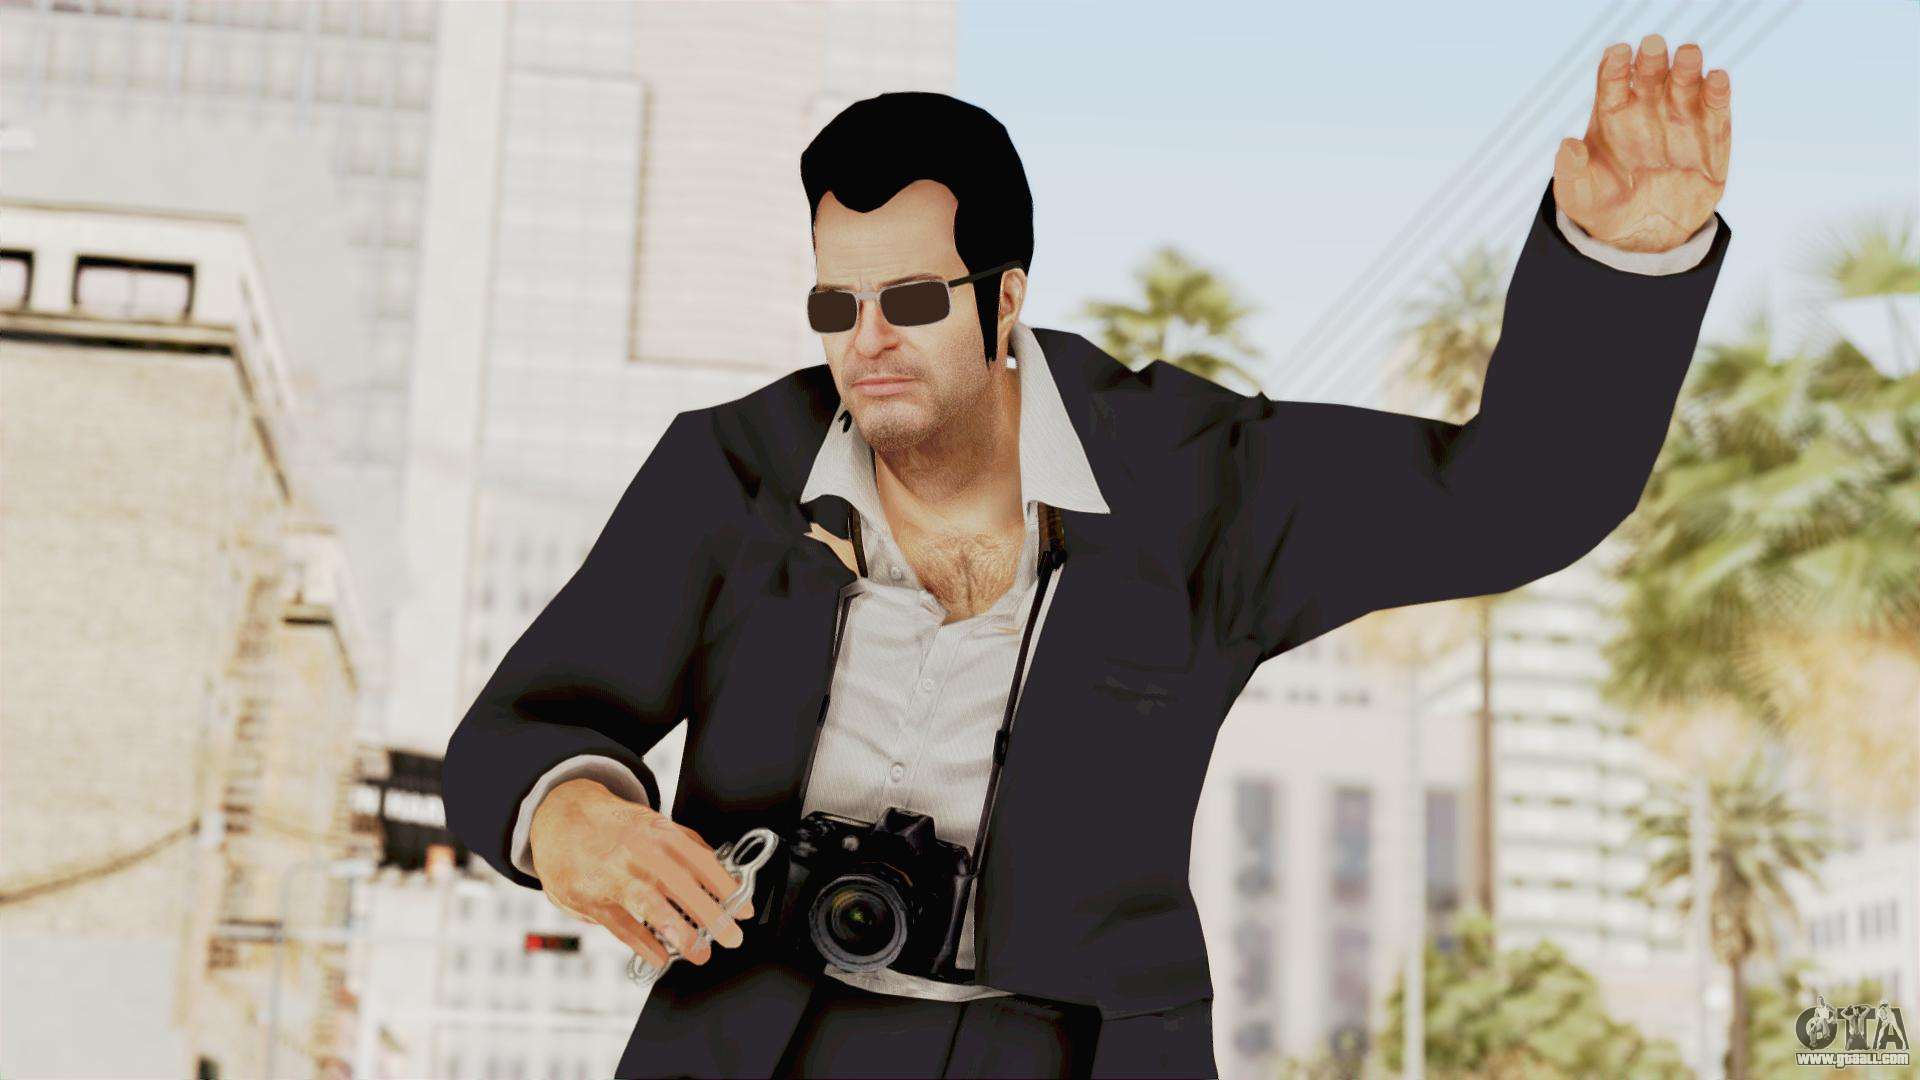
Dead Rising 4 Frank Rising
Dead Rising 4: Frank Rising Learning the Ropes Guide. You now a total of one and thirty minutes to do everything in the Frank Rising DLC, so yeah, you’ll kind of want to rush through things. Dec 05, 2016 The biggest change Dead Rising 4 makes to the traditional Dead Rising formula is the removal of the countdown timer that forced you to rush through objectives.
Learning the Ropes
Willamette Memorial Megaplex – Emergency Shelter
O Listen to the conversation
Frank is now locked up in the garage of the Willamette Memorial Megaplex Emergency Shelter. Dr. Blackburne will speak with Frank and tell him to find the key in the room to open the door.
O Find the key
O Open the door
The Shelter Keys are on the shelf to the left. Walk over and pick them up and interact with the door near Dr. Blackburne in order to leave the garage.
O Follow Blackburne
Dr. Blackburne will explain to Frank that the Pentagon is going to firebomb the city soon and that all the survivors have a limited amount of time remaining until then. You now a total of one and thirty minutes to do everything in the Frank Rising DLC, so yeah, you’ll kind of want to rush through things. The time is constant and will not reset if you die, so can’t count on restarting that often. The time remaining will be displayed in the bottom right portion of the screen. Follow Dr. Blackburne up the stairs and you’ll eventually get your next objective after the conversation ends.
O Enter the mall
Dr. Blackburne stands right beside the door that takes you to the corridor that leads to the outside mall, so open it when ready. Going right is useless since the corridor on that side is blockaded so turn left and follow that corridor up the stairs ahead.
O Follow Blackburne’s directions
Dr. Blackburne will start to give Frank directions over radio now. One of the zombies on the stairs will get up and attack. Zombies attack Frank now because he is more human thanks to Dr. Blackburne’s treatments, so they are once again your enemy. Oh, and also, because of Dr. Blackburne’s treatment, you have lost all your zombie powers except for your basic attack and dash attack. You’ll now have to do the usual unlocking of abilities as you progress. In order to unlock abilities, you’ll have to find collectibles and collect Princess Wasps – all of these will be detailed more in a bit as they start to appear. Open the door further ahead to continue.
Willamette Memorial Megaplex – Amazon Food Court
Frank will step out to a corridor of zombies on the southeast side of the Amazon Food Court. Go right and enter the Food Court through one of the side stores or the door at the end of the corridor. Frank will find the Portable Detection Device – Willamette Memorial Megaplex(1/3) on a crate before entering the corridor to the north. Pick up the detection device and this will mark all the collectibles in the Willamette Memorial Megaplex area on your map.
Move along the zombie-filled corridor ahead then enter the corridor off to the right that will be marked on your map. It’s useless to go further north in the first corridor since the area up ahead, that leads to Medieval Town, is blockaded. Along the way down the corridor, step into the women’s restroom and you’ll find the first Organ Cooler(1/10) pickup inside the open stall off to the right inside. Grabbing the Organ Cooler will unlock “Improved Sprint I”. Follow the corridor up ahead then step past the escalator and enter Central Plaza through the corridor off to the left.
Willamette Memorial Megaplex – Central Plaza
Dr. Blackburne will contact Frank once again to explain that she is leading him to Kiichiro Plaza. Run up the stairs in Central Plaza and you’ll find a Preserved Evo Brain(1/10) on the stand across from the top of the stairs. Frank will gain the “Improved Melee Attacks I” trait for getting this pickup. Run back down the stairs then step into Kiichiro Plaza to the south.
Willamette Memorial Megaplex – Kiichiro Plaza
Atlantica online private server. Atlantica Online has recently updated to add a new dungeon event, called “Trojan Treasure Trove.”Located in Angkor Wat in Southeast Asia, players can find the treasures stashed away once by the Naga Clan, including the Troy Treasure Chest, which contains rare dual-colored wings and armed mounts.
O Approach Calder’s corpse
Frank will notice Calder’s corpse and Dr. Blackburne will tell him to take a closer look. Approach the corpse of Calder up ahead.
O Kill all the zombies
If there are any zombies still in the area, Frank will have to kill them in order to investigate the corpse. The area will seal off as you get this objective and you will not be able to backtrack to Central Plaza. If you have already killed all the zombies in the immediate area, you’ll still get this objective and then it will quickly fade into the next objective.
O Collect the swarm
Approach Calder’s corpse and interact with it to claim your first Princess Wasp(1/40). Frank will gain the “Pounce” ability from absorbing the Princess Wasp inside of Calder. You’ll get some dialogue and a cutscene shortly. After the cutscene, you’ll get the tutorial for the Pounce ability. Basically, you need to hold down the LB button to target an enemy then release the button to pounce on that enemy. Pounce is best used against enemies with weapons or shields. The pounce will immediately disarm an enemy or either take damage during the pounce.
O Kill the humans
Now, it’s time to try out pounce. A soldier will step out on the nearby crate. Use your pounce ability to kill that soldier. Not only is pounce good for damaging and disarming enemies, but it’s also a good way to leap on top of platforms that are very high, which is shown during the first encounter.
More soldiers will enter as the gate on the other side of the plaza is raised. Kill off the soldiers then more soldiers will enter. The second wave of soldiers has soldiers with shields in it. Use your pounce ability to disarm the shields from the soldiers and then you can kill them off normally with melee attacks. Dr. Blackburne will contact Frank once the last soldier falls.
O Follow Blackburne’s directions

Before you leave Kiichiro Plaza, be sure to get both of the collectibles in the area. In the Silk Crane Spa and Wellness Center on the first floor, you’ll find some of Barnaby’s Files(1/10) which will unlock “Heath Regen I” and go up to the second floor on the west side of the plaza then enter the King Hiro Arcade and you’ll find Tainted Zombrex(1/10) on the reception counter inside and this will unlock “Improved Stamina I”. When you’re done, run out of Kiichiro Plaza from the south end.
O Follow the green glow
The glow (wasp) up in the corridor up ahead will fly further down the corridor as Frank approaches it. Dr. Blackburne will tell Frank to try to catch it – these are Princess Wasps and they require Frank to perform a specific task after catching them in order to gain the extra ability that they hold. Don’t worry about the Princess Wasp right now – search the area over for collectibles. There are two collectibles on the top floor of the current corridor. Run up the stairs then run to the far north (along the narrow platform) above the stairs and you’ll find a Preserved Evo Brain(2/10). While still on the second floor, run to the far south portion and you’ll find an Organ Cooler(2/10) near a flower bed in between Home Runners and White Rook Protection. Pokemon sacred gold document.
O Investigate the lone wasp
Once you’ve got both collectibles, run back down the stairs and continue to follow the green glow into the bottom corridor. Approach the Princess Wasp (green glow) then interact with it to start it’s trial. You’ll gain the “Shock and Awe” ability for completing the task. All you need to do is defeat all the looters in the mission, which isn’t hard if you use the Pounce ability to knock the guns out of their hands. You have a total of one minute and thirty seconds to complete the task. Frank will gain the Princess Wasp(2/40) after completing the task.
O Follow Dr. Blackburne’s directions
If you need any health following the Princess Wasp task, enter the nearby men’s restroom and chow down on the zombies inside. Run down the escalator and open the double doors for the Old Town Emergency Shelter then step into the stairway ahead to complete this portion of the case.